Puppet Enterpriseインストール
※過去にまとめたwikiからの移行記事
Puppet Enterpriseインストールのメモ。
環境はmaster、agent共にCentOS6.10。
事前準備
ホスト間での名前解決
エージェントマスタ構成をとる場合、両方のホスト間で名前解決が行えるようにしておく必要がある。
小規模環境等でDNSサーバを立てるまでもない場合は、以下のようにhostsファイルを設定しておく。
$ cat /etc/hosts
127.0.0.1   localhost localhost.localdomain localhost4 localhost4.localdomain4
::1         localhost localhost.localdomain localhost6 localhost6.localdomain6
192.168.33.50   puppetmaster
192.168.33.60   puppetagent
設定後、hostnameコマンドでホスト名を確認しておく。
$ hostname -f
puppetmaster
オフライン環境でのインストール
master、agent共にインターネットに接続されていない環境でのインストールを行う場合は、
以下のようにbaseレポジトリファイルを無効化しておく。
これをやっておかないと、インストール時にエラーが発生する。
インストール完了後は元に戻すことを忘れないこと。
mv /etc/yum.repos.d/CentOS-Base.repo /etc/yum.repos.d/CentOS-Base.repo.org
ダウンロード
puppet社のHPからtarファイルをダウンロードする。
試用版は10台までであれば無料で使用でき、それ以上はライセンスを購入する必要がある。
インストーラー起動
ダウンロードしたtarファイルを展開する。
$ cd /tmp/
$ ls
puppet-enterprise-2019.0.1-el-6-x86_64.tar.gz
$
$ tar xvf puppet-enterprise-2019.0.1-el-6-x86_64.tar.gz
(中略)
$ ls
puppet-enterprise-2019.0.1-el-6-x86_64  puppet-enterprise-2019.0.1-el-6-x86_64.tar.gz
$
$ cd puppet-enterprise-2019.0.1-el-6-x86_64
$
$ ls -l
合計 184
-rw-r--r-- 1 root root 19630 12月 13 21:18 2017 LICENSE.txt
-rw-r--r-- 1 root root  1037 10月 27 07:55 2018 README.markdown
-rw-rw-r-- 1 root root     9 11月  2 06:54 2018 VERSION
drwxr-xr-x 2 root root  4096 12月  9 14:52 2018 conf.d
drwxr-xr-x 4 root root  4096 12月  9 14:52 2018 locales
drwxr-xr-x 4 root root  4096 12月  9 14:52 2018 packages
-rwxrwxr-x 1 root root 63429 11月  2 06:54 2018 puppet-enterprise-installer
-rwxrwxr-x 1 root root 80727 11月  2 06:54 2018 puppet-enterprise-uninstaller
展開したディレクトリ内のインストールスクリプトを実行する。
なお、既にpe.confを作成している場合は以下のようにファイルパスを指定するだけで、インストールが可能。
./puppet-enterprise-installer -c <pe.confのファイルパス>
そうでない場合は引数なしでスクリプトを実行する。
$ ./puppet-enterprise-installer \[WARNING\] Unable to load gettext.sh.
\[WARNING\] Please install the gettext package if you would like
translated instructions. /tmp/puppet-enterprise-2019.0.1-el-6-x86_64
/tmp/puppet-enterprise-2019.0.1-el-6-x86_64
=============================================================

      Puppet Enterprise Installer

============================================================= Puppet
Enterprise offers two different methods of installation.

\[1\] Text-mode Install (Recommended)

This method will open your EDITOR (vi) with a PE config file (pe.conf)
for you to edit before you proceed with installation.

The pe.conf file is a HOCON formatted file that declares parameters and
values needed to install and configure PE. We recommend that you review
it carefully before proceeding.

\[2\] Graphical-mode Install

This method will install and configure a temporary webserver to walk you
through the various configuration options.

NOTE: This method requires you to be able to access port 3000 on this machine from your desktop web browser.

=============================================================

 How to proceed? [1]:
インストール方法はCLI、GUIの2種類存在する。
デフォルトで、PuppetはPostgreSQLがインストールされるが、既存のデータベースを使用したい場合にCLIインストールを行う。
インストール(マスタ)
CLIインストール
CLIインストールの場合、1を選択する。
pe.confファイル(PuppetEnterpriseの設定ファイル)が存在しない場合、編集画面が表示される。
既存データベースを使用する設定はここで行うが、今回はPuppet内部のPostgreSQLを使用する。
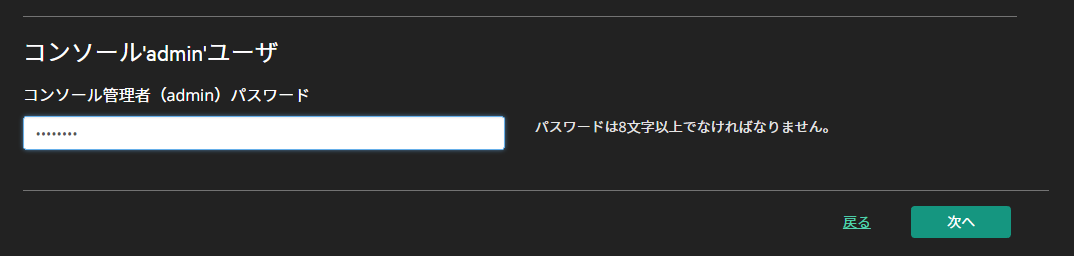
最低限の設定として、コンソールのパスワードを記載しておく。
"console_admin_password": "<パスワード>"
編集後、保存すると作成した設定ファイルでインストールするかを確認される。
Proceed with installation using the pe.conf at /tmp/puppet-enterprise-2019.0.1-el-6-x86_64/conf.d/custom-pe.conf? [Yn]y
インストール後、"puppet agent -t"コマンドを2回実行する。
$ puppet agent -t
$ puppet agent -t
GUIインストール
GUIインストールの場合、2を選択する。
How to proceed? [1]: 2
インストーラーが開始されるので、しばらく待つ。
インストールの準備ができると下記のメッセージが表示されるので、指示にしたがって該当URLにアクセスする。
    ## Go to https://puppetmaster:3000 in your browser to continue installation.
    ## Be sure to use 'https://' and that port 3000 is reachable through the firewall.
    2018-12-09T14:54:50.394+09:00 Running command: RACK_ENV=production /opt/puppetlabs/puppet/share/installer/vendor/bundler/bin/thin start --debug -p 3000 -a 0.0.0.0 --ssl --ssl-disable-verify &> /dev/null
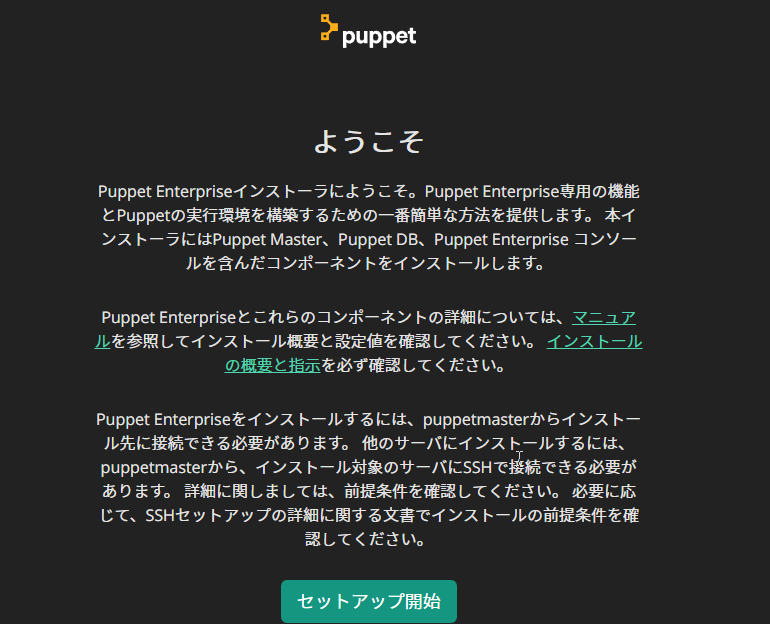
指示されたURLにアクセスするとインストール画面が表示されるので、「セットアップ開始」をクリックする。
以下をそれぞれ設定する。

インストールの検証が行われる。
問題があればメッセージをヒントに修正する。
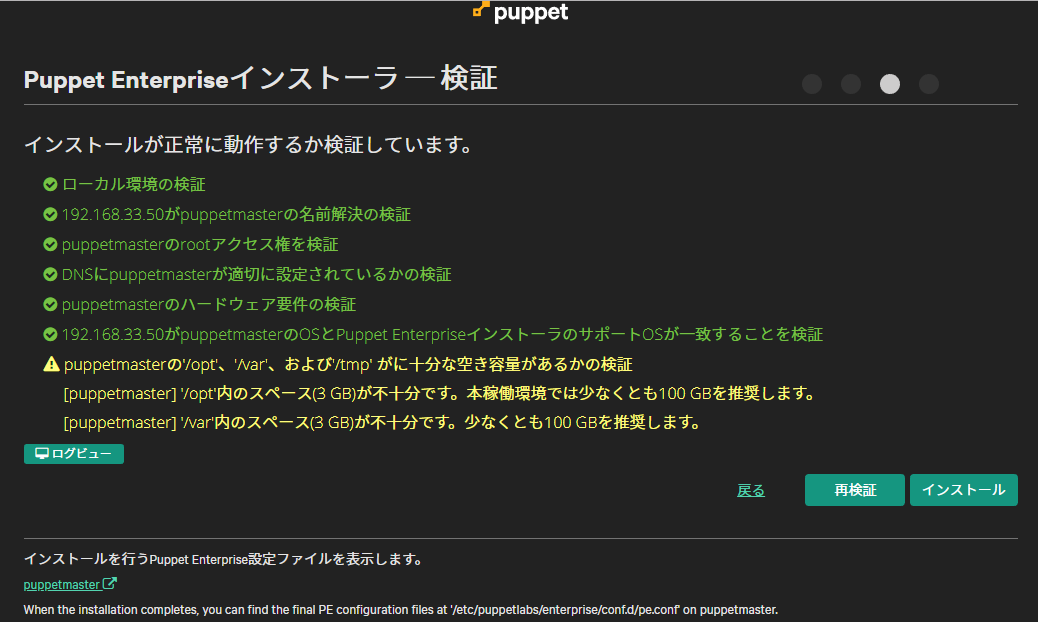
インストールが開始されるので、数分間待つこと。
完了すると下記のような画面になる。

コンソールログイン
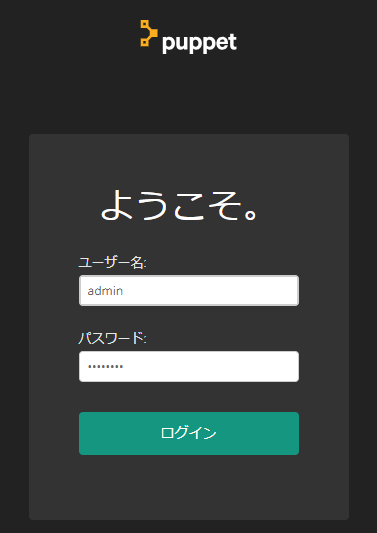
インストール後、https://\<masterホスト名>にアクセスすると、コンソールのログイン画面が表示される。
adminユーザ、インストール時に入力したパスワードでログインする。
無事ログインできるとダッシュボードが表示される。

インストール(エージェント)
puppetagentはLinuxでは以下のコマンドを実行するだけでインストール可能。
$ curl -k https://<ホスト名>:8140/packages/current/install.bash | sudo bash
インストール後、以下コマンドでmasterに証明書署名リクエストを送信する。
$ puppet agent -t
リクエスト送信後はmasterのGUIにて証明書を承認する。
「無署名の証明書」から追加したいノードを選択し、承認する。
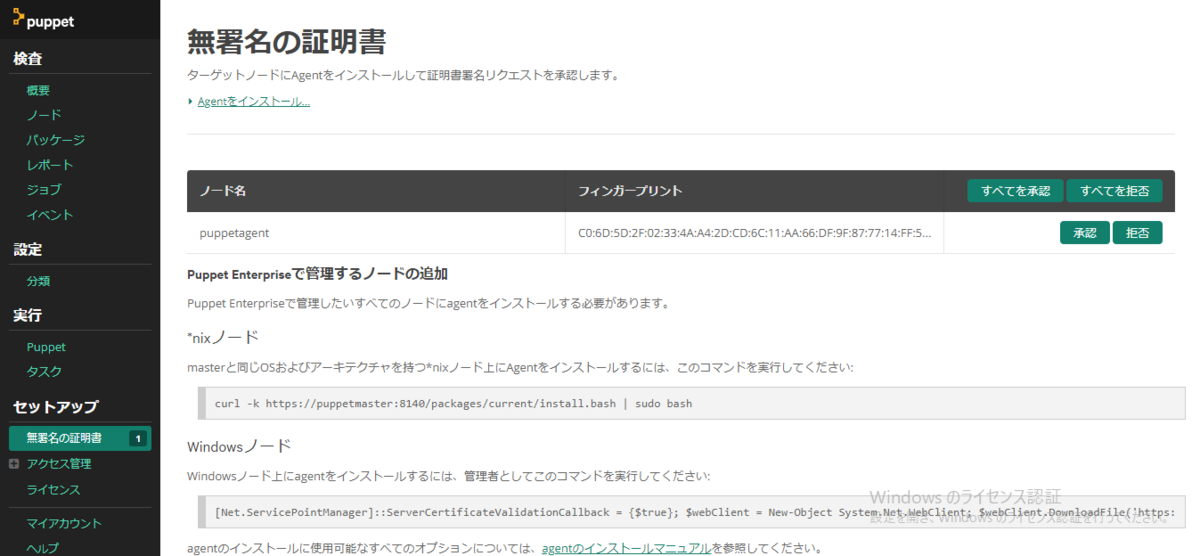
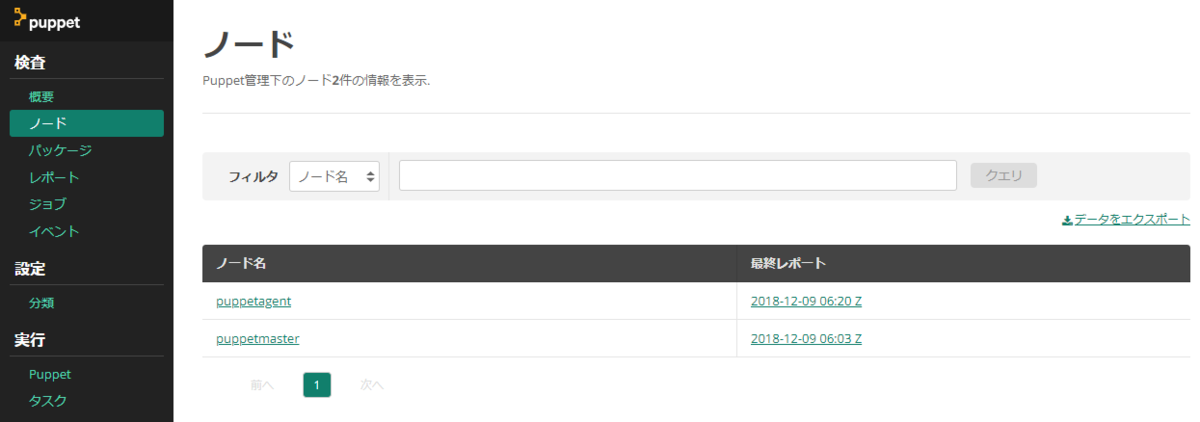
承認後、agentをインストールしたノードが追加されている。
追加されていない場合は、"puppet agent -t"コマンドを再度実行する。
トラブルシューティング
agentからの証明書署名リクエストを間違って拒否してしまった
agentからの証明書署名リクエストを拒否した場合、再度リクエストを送信してもmasterに表示されなくなってしまう。
自分の場合はマニュアルを参考に、証明書を再生成した。
まずは、agentのサービスを停止する。
puppet resource service puppet ensure=stopped
puppet resource service pxp-agent ensure=stopped
次に、agentにて証明書が格納されているディレクトリを削除。
rm -r /etc/puppetlabs/puppet/ssl
最後に、agentのサービスを起動する。
puppet resource service puppet ensure=running
これで、masterに証明書署名リクエストが送信される。
masterの承認後、ノード一覧に追加ノードが表示されない場合は"puppet agent-t"コマンドを実行する。